Showing posts with label my work. Show all posts

Wednesday, June 10, 2015

3 what does an interior designer do?


If you've been following my blog for a while, then you know that I've had a bunch of jobs. I worked for various retailers, taught music lessons, interned for a hotel design & management company, etc. etc....

In all of these positions, no one questioned me about what my job duties entailed. It's pretty straight forward when you tell someone that you're a piano teacher; they know that you show someone how to play the piano and coach them on how to play more beautifully.

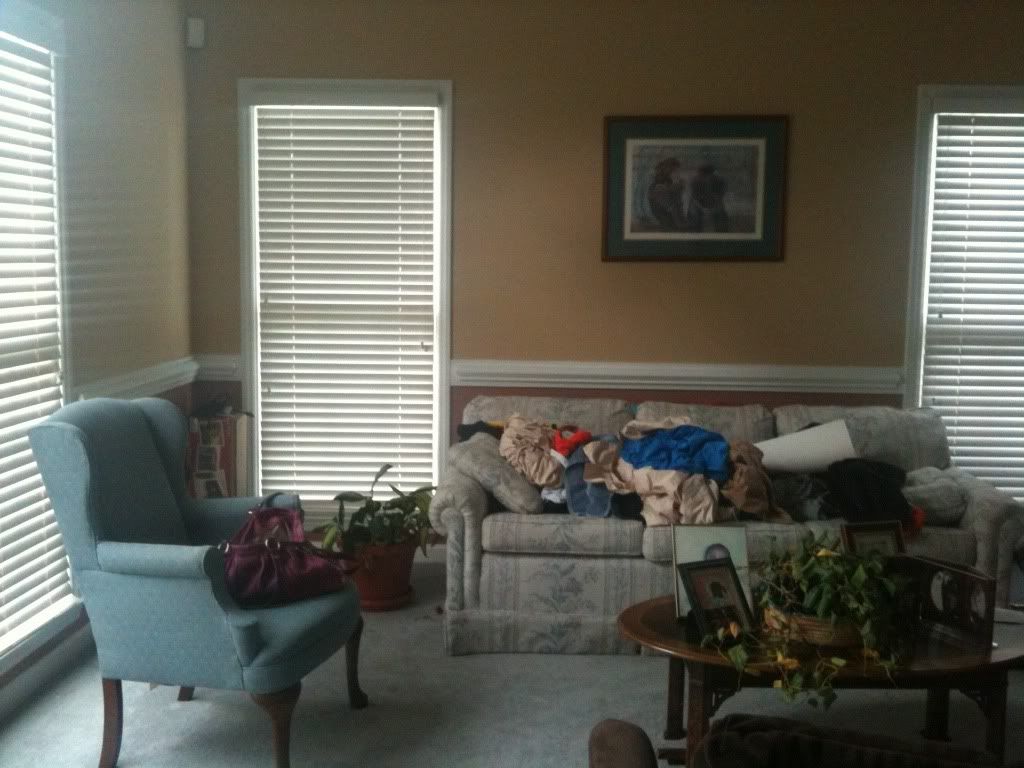
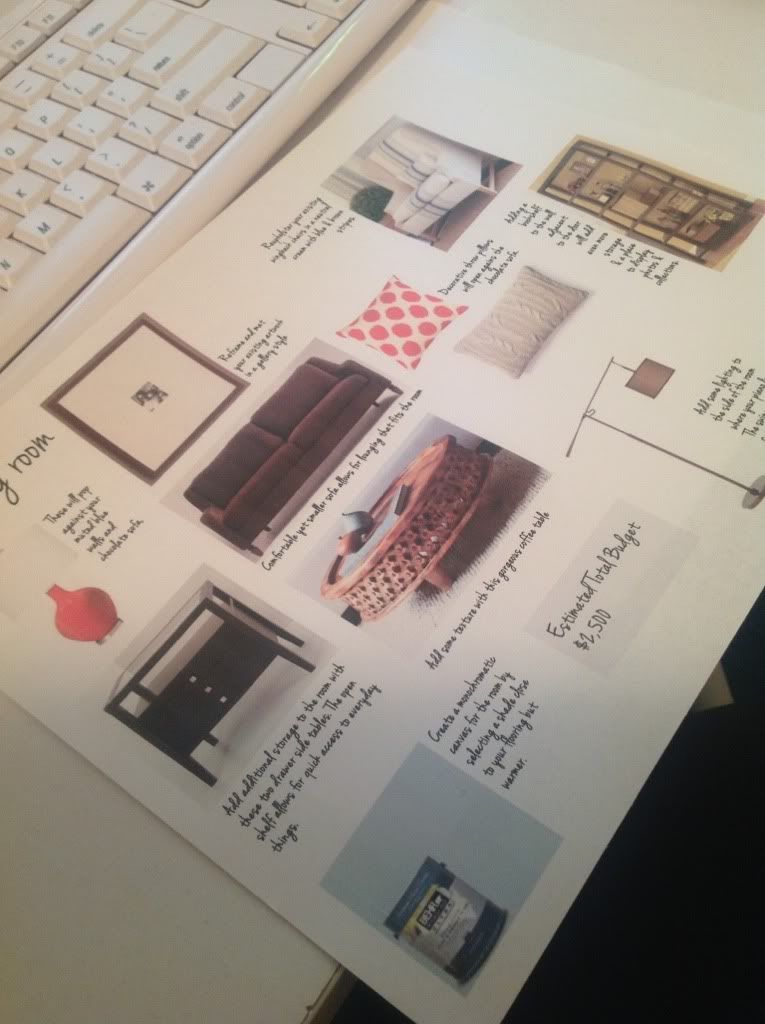
When I tell people that I'm an interior designer at an architecture firm, I'm usually met with a look of confusion and a slow nod. OR, my favorite response, "So you can help me decorate my living room!"

Well.... yes, I can help you with your living room, but that's not what I do at my firm. I love decorating and styling, but, there is very little of either in my job role. I realize that this confusion comes from a few things. First, the overall misconception of the general public that the titles designer and decorator and interchangeable. The two job roles overlap, but have distinct differences. Second, most people just don't know what it takes to actually build out the interior of a building. We inhabit them all the time, but most don't think about how they became what they are.

In my current role, I follow a process with every client to ensure they have a space that is both functional, boosts productivity & wellness and is beautiful too. Here's how it goes:


PROGRAMMING
Most of the time, my client is actually a commercial real estate broker who is hoping to occupy a space in a building with a tenant. That tenant has a list of requirements for that space, and my job is to assist the broker with creating a floor plan that will incorporate all their needs within an available vacancy in a building. But first, their needs have to be identified! How many people need offices? How much storage do you need? Does the tenant host visitors frequently? These are all questions that determine the program. Once the program is nailed down, then I create a schematic design plan.


SCHEMATIC DESIGN
For example, say a client needs 10 offices, has 8 workstations, needs a break room, conference room and work room, and there is a 5,000 square foot vacancy in a building. My job is plan out the space in a way that simultaneously meets the tenant's needs, adheres to building codes and stays under the broker's budget. Whenever a tenant fit-up is negotiated into their lease agreement, there is a cap on how much they can spend on building alterations within that lease without paying additional money beyond their rent. After a space plan has been finalized, the fun part starts!


DESIGN DEVELOPMENT
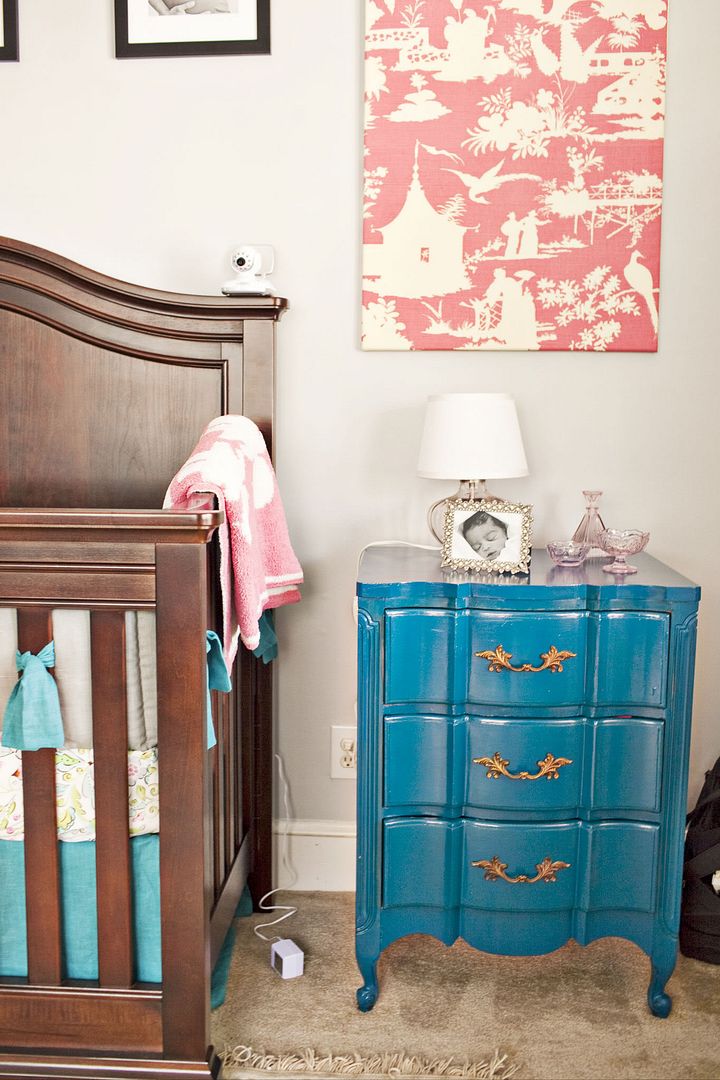
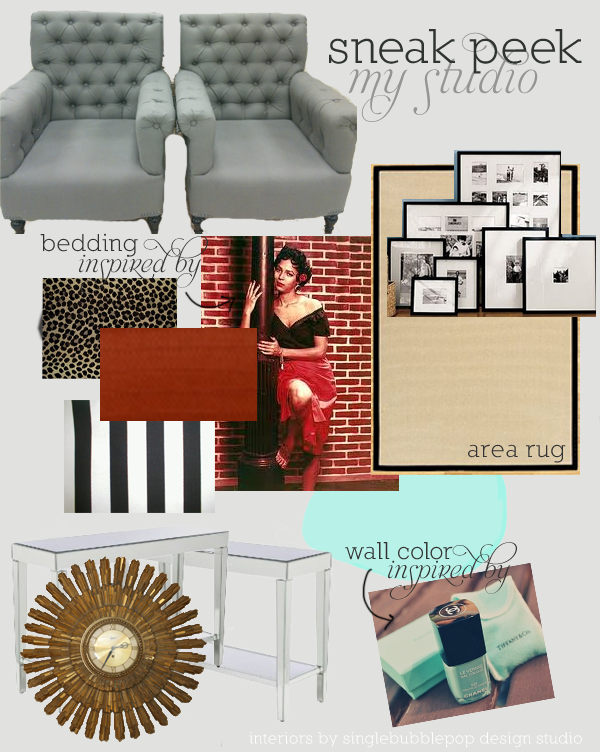
During design development, the details are laid out. This is when lighting plans are created, flooring is selected, paint colors and more! At this point, the tenant gets to choose what makes their space unique. I love this stage of the process because it really makes the space come alive for the tenant. I can show them actual carpet samples, paint samples and they start to visualize how the space will feel.


CONSTRUCTION DOCUMENTS
After the space plan has been defined, finishes have been selected and the tenant has signed off, I use AutoCAD to draft very detailed documents that instruct a general contractor on how to build out the space. This includes dimensions, millwork drawings, electrical details, lighting plans, and finish specifications. In order to receive a building permit, these drawings have to be reviewed and signed by an architect. Hence, why I work in an architecture firm! After I've prepared a set of drawings, my architect reviews them to make sure they are structurally sound and signs them. We pair our architectural sheets with drawings from engineers who at the same time have been creating drawings that dictate electrical, mechanical and plumbing requirements. That complete set is submitted to the city or town where the building is located in order to gain a building permit.


CONSTRUCTION OBSERVATION
After the permit has been received, construction starts! A general contractor and his crew comes in to tear down anything that needs to be removed and prepare the space for the new layout. I make periodic visits to the site to make sure everything is rolling according to plan. Subcontractors send submittals to me for review to make sure millwork is built correctly and lighting is installed properly, for example.


PUNCH LIST
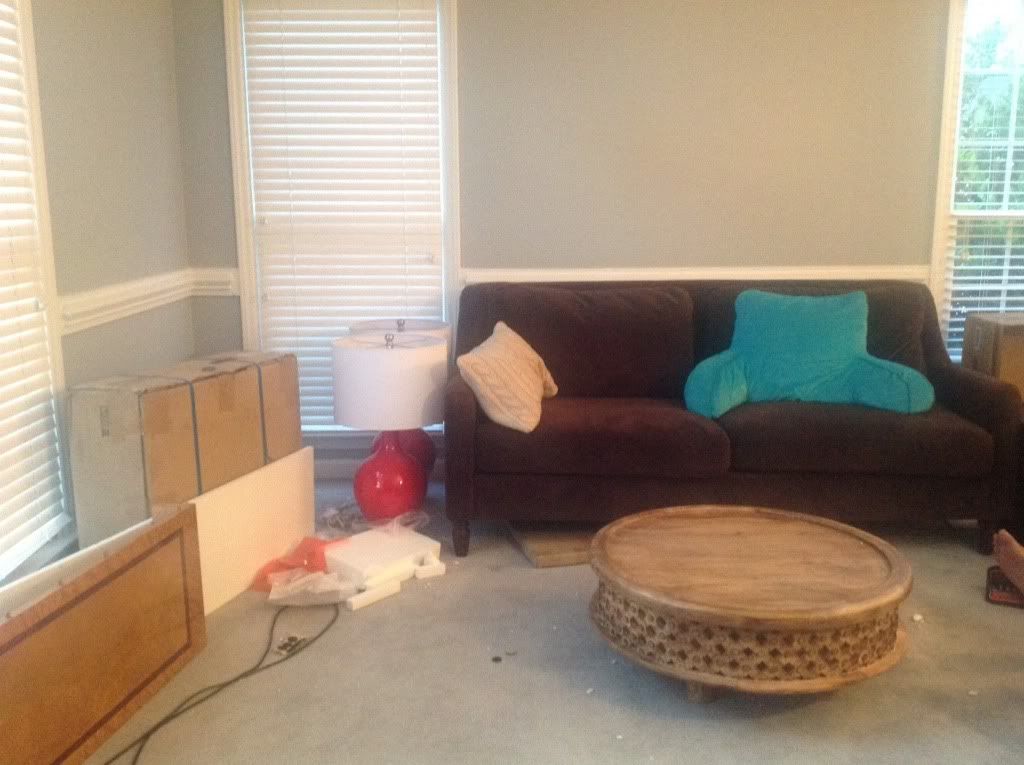
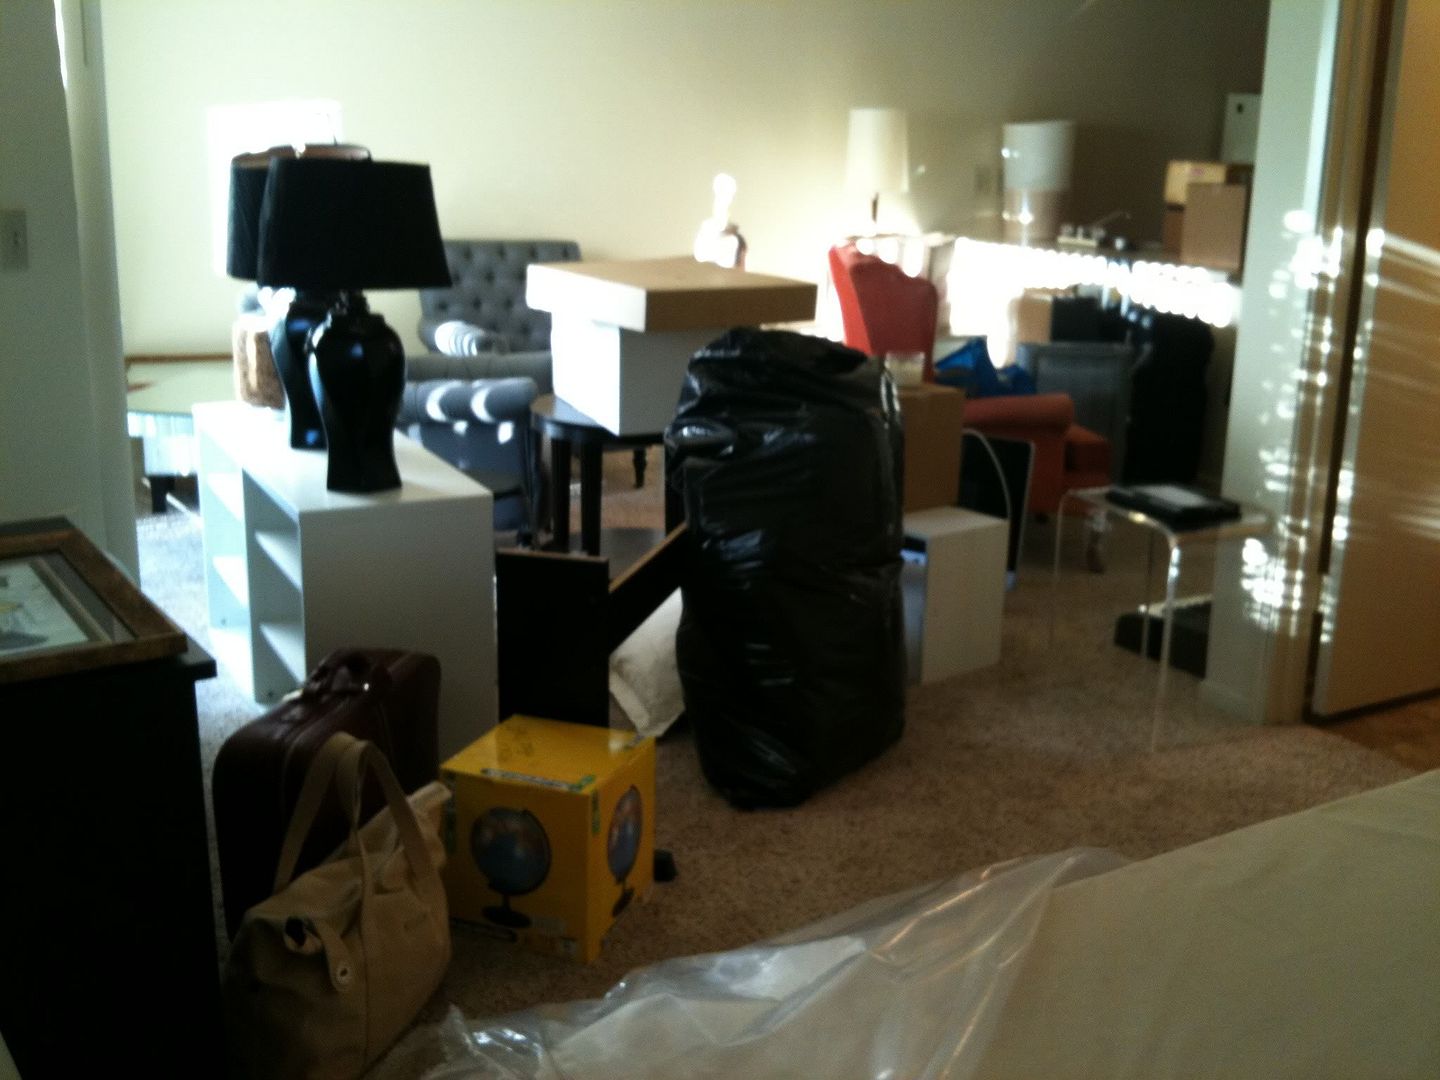
When all the building is done, we walk through and make sure that all the details we specified are actually there. At this point, the tenant usually has begun moving in their furniture and the space starts to feel like "home".

So you see, there is no decorating involved in this process. Once a certificate of occupancy has been received and the tenant has moved in, they can choose to do what they like with the space. There are interior designers who specialize in decorating corporate office spaces, and do not do any of the process I just described. There are designers who do not do commercial office design at all, and only decorate homes where they wouldn't need to go through all or some of the steps I listed above.

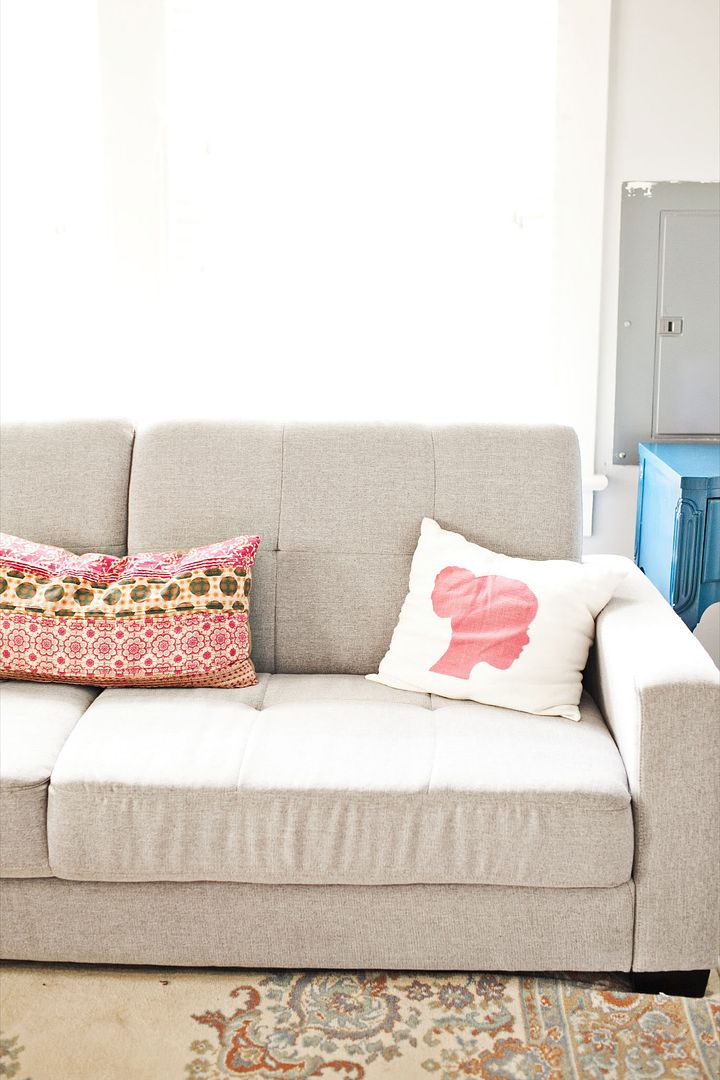
I have been blessed to do both commercial and residential design and love both of them! By no means am I saying one is better than the other. In fact, I think having experience in both helps any designer serve their clients better. The thing I love the most about design is that it is a balance between creativity and structure. Working at an architecture firm allows me do what I love every day and no day is the same. Consulting for residential clients allows me to keep my hand in decorating. Both continually impact the lives of people in a positive way, which means so much to me.

Questions? Comments? Tweet me, or leave a comment on Facebook. I'd love to hear from you!

Tuesday, July 9, 2013

1 a new sitting room


I am working with a client to transform her unused formal living room into a space where she can sit, relax and enjoy a great book. The space was full of old furniture and outdated paint colors and literally was just being used as a pass through to their dining room and kitchen.


My client is a judge for family court, and after the stress of a long day in the courtroom, she wants a space to unplug and destress. I came up with a calming color scheme of slate blue & chocolate with pops of red.


One of the foundational pieces for the space is this sofa I found at World Market for a steal! This beautiful chocolate microfiber sofa was on clearance for $400. Perfect for a small space and really comfortable too.


I also had her existing artwork above her old sofa re-matted and framed. This is an excellent way to update any space: changing out dated framing came make a dramatic difference!

Last week the room was painted and what a difference that made already! The room seems so much brighter and larger. We began installing all the new furniture and accessories this weekend! Stay tuned to see the final space.


PS - That blue body pillow will NOT be staying. Ha!

Thursday, March 21, 2013

2 missing my studio

When I moved to Atlanta in 2009, my intention was to bum on the sofa of my (then) boyfriend's brother until I saved up enough money from my new job at J.Crew to get my own place. While they were playing video games, I would research apartments everyday and dream about how I would make it into a space of my own. Things didn't work out exactly as planned but when I finally did move into my own place in 2011, it was literally a dream come true. It may have not been the best studio, but it was mine! I will always love this "first place" of mine because I put so much love into it.

Ya'll saw peeks of it in the background of Design Talk webisodes, but I never gave you a proper tour. Mostly because I never really felt like it was "done". But today I am missing my studio and thought it would be fun to share a little bit of what it looked like before I moved out!

niki mcneill smyrna studio

As you can see, a lot of the items in bedroom area were made by me or thrifted, which made the space really one of a kind. The paint color was from the Martha Stewart collection at Home Depot, and I am so sorry that I don't remember the name/color. And since a few people have asked, I am still selling my custom Afro Puff pillows! You can order one (or two!) right here.

I'm already dreaming about what my next place will be like!

Monday, November 5, 2012

3 umch room reveal + see it for yourself!

I can't thank all of you enough for your generous monetary donations and moral support throughout this project! I spent every day I had off from Pottery Barn last month working on this project, and I am thrilled with the way it came out.

2012 room service atlanta united methodist children's home niki mcneill
I wanted the room to be cozy, youthful and still masculine. Thanks to the awesome donation of the bed from Room & Board, and the cool lamps from Mitchell Gold + Bob Williams I already had a lots of color to start with! I donated my own orange wingback chair when I found that awesome Pottery Barn pillow on super clearance. I often start a room design based off of one piece, and in this case, this colorful chevron pillow was it! The color scheme and the texture reminded me Southwestern style. Since I didn't have an actual client to design for, I created a "character" in my head. I imagined a young man who loves all things country, is an adventurer, but is temporarily in the city.

2012 room service atlanta united methodist children's home niki mcneill
Using that theme, I warmed up the clean sleek lines of the donated furniture & lighting by painting the room a soothing mocha color with chocolate trim. Adding in the vintage chair, wood elements, and original art painted on reclaimed window panes made it feel like he moved in with things that have been loved for a long time.

Below you can "shop the room"! I tried to highlight where I purchased the things you see, but if there is something you see that I didn't mention, please ask! I found some STEALS while shopping for this room, and I don't mind sharing sources.

2012 room service atlanta united methodist children's home niki mcneill

Want to see it in person?? You can come by today from 3-7pm and see ALL of the amazing transformations.


Again, THANK YOU, THANK YOU to everyone who contributed; even if it was just pat on the back. :)

SPECIAL THANKS to Dorothy Burke, Will V., and Caroline Buttimer for your hands on help!

And to all of these generous financial supporters:
Ishea of Six Twenty Seven
Linwood McNeill
Shae of Afroniquely You
Rhonda Bellinger
Julian Gravansande
Maxine of In a Fab World
Christopher & Marnita Edwards
Gloria Mittman
LaVonde Driver
Pamela Holt
Deidre Cooper
Oreno Hooker
Willette Morman

I could not have done this without you all!

Tuesday, July 17, 2012

4 when diy goes bad.... then good


diy tufted headboard
Remember a while back when I posted this preview image of a DIY project I was working on? And I promised to show you the results... well! It didn't quite turn out how I wanted. Let's just say, pretty much everything that could go wrong with this tufted headboard project did. Chalk it up to completely poor execution. I got so frustrated that I actually gave up, and this big ol' mess was sitting on my floor for months. Just terrible!


Last Saturday I decided that enough was enough and I HAD to do something about this. A) I wanted to finally have a headboard & B) I was sick of it taking up my very limited floor space. The solution: Take the tufts out and the fabric off and do a simple box headboard instead. I had some beautiful fabric left over from these custom pillows I made and it coordinated perfectly with my cheetah print euro shams.
diy upholstered headboard corner
Here is a closeup of the fabric and my beautifully tapered corners that I'm oh-so-proud of. Ha! I plan to do a faux nailhead trim around the perimeter using thumbtacks, but until that happens, I'm loving it thus far!


That lampshade on the ceiling is my next project! This is where I'm taking it....


Stay tuned!!

Wednesday, April 4, 2012

4 contemporary nursery design

Today, I am so thrilled to share some photos of a nursery design I did last year! My client had Heidi Geldhauser of Our Labor of Love photography the space and she did such a beautiful job! I'm looking forward to working with Heidi soon to photograph my own studio. This project was so great because Cori had great pieces to work with from the start! You can see the original design plan here.


nursery design niki mcneill photography by heidi gelhauser our labor of love
The rug was already in the room before it was a nursery and was such a great jumping off point for the color scheme in the room! I also found them a coordinating wardrobe to the crib which isn't pictured.

nursery design niki mcneill photography by heidi gelhauser our labor of love
Cori refinished these turquoise side tables herself and did such a fabulous job! They pop agains the cool greys and variations of pink to make the room less traditional girlie.

nursery design niki mcneill photography by heidi gelhauser our labor of love
Cori wanted a rocker that looked like a contemporary chair, not a rocker, so the chair you see pictured on the left is what I found as the solution! It's super comfy, and can't tell it's a rocker until you sit down in it.

nursery design niki mcneill photography by heidi gelhauser our labor of love
niki mcneill sihlouette pillow design
I made these custom pillows for the room with a hand drawn afro puff sihlouette last year! The coordinated perfectly with the Quadrille China Seas fabric we used for the panels above her bedside tables.

nursery design niki mcneill photography by heidi gelhauser our labor of love
And lastly, look at baby Adyn's sweet little face! :) She's almost a year now and such a beautiful little girl! I'm glad that she's enjoyed her nursery thus far.


If you need help creating a coveted space, contact me today. Visit my interior design website for details on services!


Nursery photography by Heidi Geldhauser

Tuesday, January 10, 2012

1 painted love


niki mcneill heart painting


Over the weekend I picked up (and dusted off) my paint brushes to take something that I'd been rolling around in my head for months onto a canvas. I actually painted over a painting I'd started last year and didn't like. I wanted something modern & fun above my bed and really large scale since I don't have a headboard yet. I'm in LOVE with this piece. Something about that segmented heart on all that bright white negative space does it for me! You can't see here but the perimeter edges of the canvas are painted back, so it gives the illusion of a frame.


I snapped a close up photo with my iPhone so you can see the heart & border...
I love that the texture of the previous painting shows through!!


Do you love it??

Friday, August 19, 2011

2 sneak peek: my studio design

So as promised, here's a sneak peek at what I'm designing for my studio.


A before shot of the living area space on the day I moved in...Looks like junk, but there's some good stuff in there!


And this is where I'm going...


What's more girlie than Chanel or Tiffany & Co.? When I first moved in I wanted to paint a super pale blue on all the walls, but then I painted my nails this aqua blue color shortly there after and fell in love with it! It will give the perfect feminine and vintage feel I'll looking for. I already have the grey tufted chairs, and they are the only big seating I have in the place. They'll be the focal point of the living room so I'm making some accent pillows to dress them up! My entry way will have a gallery wall of photos from my travels, childhood & my tiny art collection. And of course, I have to include my Aunt Lucille's vintage sunburst clock!

Do you like where it's going? Have a great weekend! And I'll be back next week with some progress....


Thursday, May 19, 2011

2 beach inspired living room

My latest interior design clients are a couple whose home is the cutest bungalow but they really LIVE for the beach. After meeting and talking with them during their consultation, I just knew that I had to bring a sophisticated beach feel to their space.


They're small living space already had a beautiful cream herringbone sofa, and woven ottomans, but needed some color + light! The husband also wanted a recliner, but they wanted one that fit their self-described "Pottery Barn" style. This beautiful sunburst mirror will go above their mantel, and that lime colored lamp will be used for reading on the sofa!. I'm excited to start the next phase: shopping + installation!

Do you need help creating a beautiful space that works for you? We're accepting new clients for June!

Wednesday, April 20, 2011

13 real life progress

My blogging buddy Maya did and awesome job turning her (disgusting) bathroom into a light & beautiful place to primp. She was so kind as to let me show it off to you guys.

Here is the before. Yuck!


And here is the after so far!! Such a transformation...


Amazing!! I would love to see some cool art above the toilet & being that Maya is a photographer I know she'd appreciate something like this, from CB2. The pop of yellow would look great against her cool blue, and I love the geometric lines!


Whatever Maya chooses will be fab, I'm sure, because she has an great eye! If you have a moment, go check out her fun blog.

Lastly, I wanted to share a sneak peek into one of my current projects!! If you like SingleBubblePop Design Studio on Facebook, you may have already seen this but here's a look at the wood panelling and custom drapery installation we did on Monday!

The space is a open floor plan condo, and the owner asked me to finish his living area. We're going for an industrial city feel so I incorporated the wood & stainless steel textures. He also loves bright colors I found this beautiful orange fabric to brighten up the room. Bringing the curtains all the way to the ceiling really shows off his almost 11 foot ceilings. I can't wait to show you all the finished space! :-)


Sunday, February 20, 2011

8 easy no-sew tableskirt

Usually, the art of interior design requires a mix of an eye for style, creativity, research and strategic planning. In this case, I can tell you that I used no planning whatsoever to do this project! I decided to revamp my home office this weekend, but I had no idea what I was going to do until I did it.

I had my desk and computer set up in the closet of my guest bedroom. My reasoning for that? I hate seeing all the paperwork, chords and such associated with work and having my desk in the closet allowed me to just close the doors and see none of it. The problem with that? My back was always turned from the window, and the heat from my BIG iMac in that tiny closet would make it very warm in that tiny space.

When it was in the closet, I had some fabric that I found for a bank-breaking $3.56 at Goodwill hanging on the inside walls of the closet as "curtains". It was cute but, didn't really have an impact on the room. After taking these pseudo curtains down, a stroke of inspiration made me realize that I'd cut them the perfect width to be a skirt for my desk! Instantly, I pulled out my scissors, tape and glue gun and went to work.

easy diy no sew table skirt IKEA goodwill hot glue gun
What I am using as a desk is actually an IKEA table. First I wrapped the perimeter of the table in one half of the striped fabric and taped it to the top of the table to make sure there was a snug fit. I didn't need to cut anything! It was already the perfect size. :)

easy diy no sew table skirt IKEA goodwill hot glue gun
Once that was done I laid the second piece on top of the table and trim it to about 1" + the tabletop size. Then I gently folded the fabric along the front side of the table at the black stripe to keep the pattern. I put a little hot glue every inch or so right in between the two pieces.

easy diy no sew table skirt IKEA goodwill hot glue gun
Once the first side was done, I let the glue dry before starting on the others so that I could pull the fabric taut as I went. I simply wrapped the corners like a present and *TADA* brand new desk :)

easy diy no sew table skirt IKEA goodwill hot glue gun


Here's what my guest room/office looked like when we first moved in...
easy diy no sew table skirt IKEA goodwill hot glue gun office desk

Here it is now! Not nearly done but here's a first look. The two bookcases are the perfect size to fill that wall, and also from IKEA. The lamp is one of my favorite finds from one of my fave Raleigh vintage stores. The small piece of art on my desk was a gift from Blayne for my birthday last year, I love it! And the roses are left over from Valentine's Day!


click for a bigger view

I'll be sure to post the finished room soon. I'm on a mission to finish it now! What DIY projects have you done lately?

Related Posts with Thumbnails